Emails
In this part of the documentation, we will show you how to integrate SMTP to be able to send transactional emails and reset password link.
We’ll use Resend for this guide, but you can use any SMTP provider you want.
Follow this guide to integrate Resend into your boilerplate seamlessly.
Get The SMTP Credentials
Here are the steps to integrate SMTP into your Boilerplate.
-
Log in to your Resend account and go to your dashboard. If you don’t have one, go to Resend and click the “Get Started” button to create an account.
-
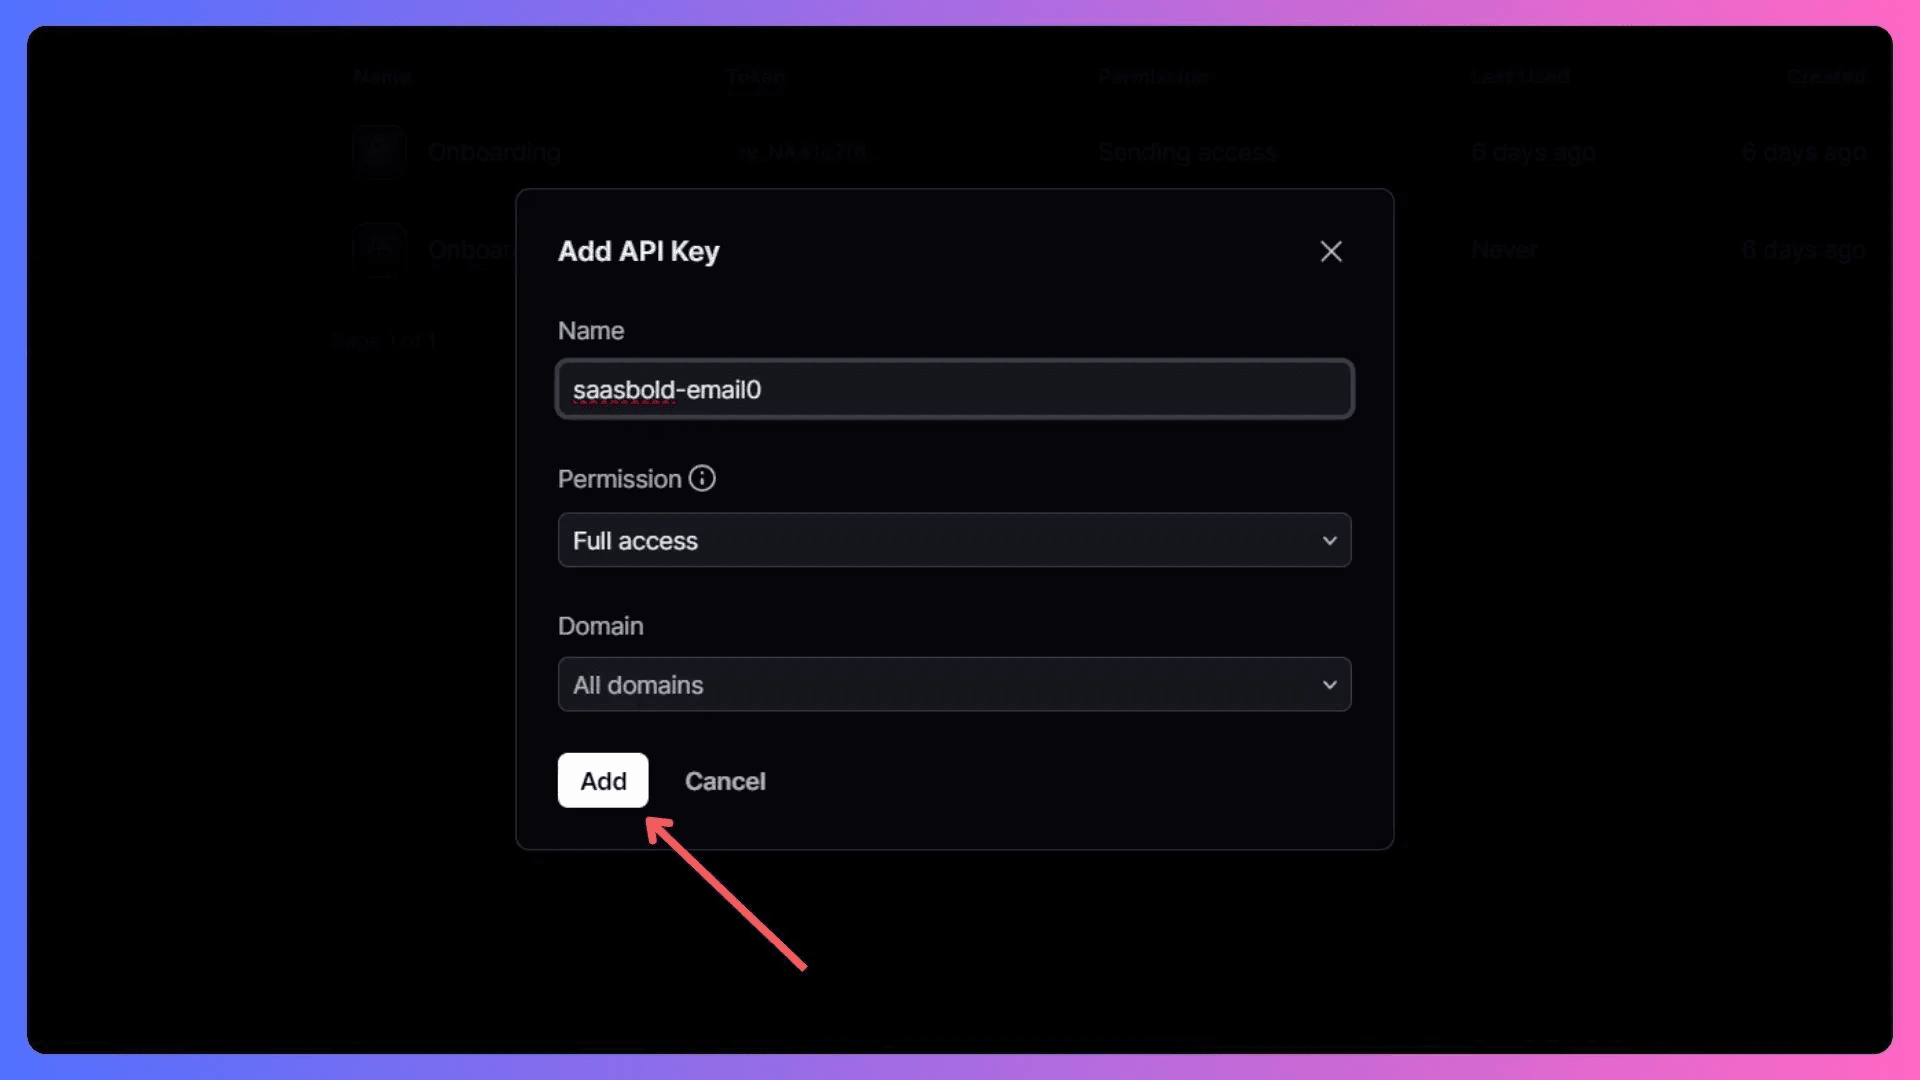
Generate API Key: Navigate to Settings > API Keys and then click on “Create API Key”. A popup will appear for providing the name for your API key.
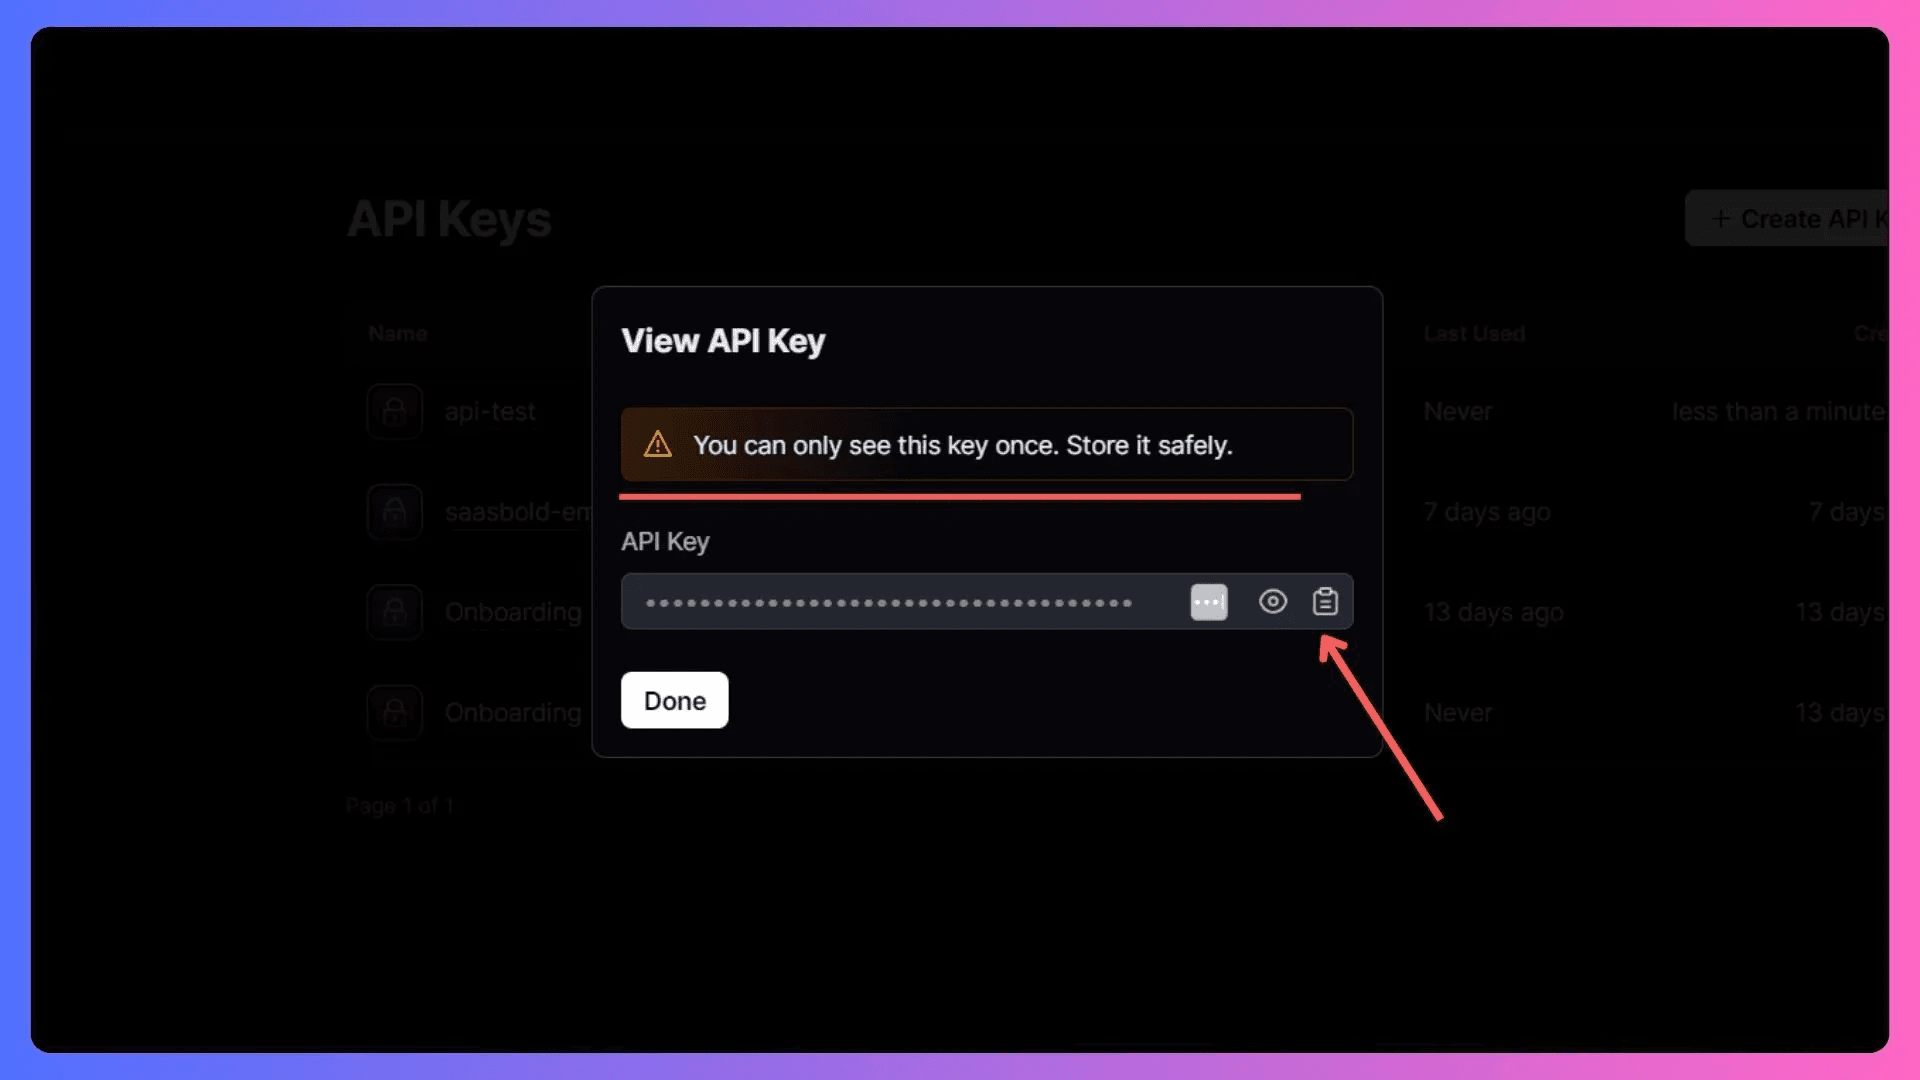
- View API Key: Once you click “Add”, a popup with the API key will appear. You can only see this key once, so copy it and store it in your
.envfile.
Configuring SMTP Host and Port
- SMTP PORT and HOST: Go to Settings>SMTP. You can see all of them here. Go ahead and copy these values.

- Update Environment Variables: Open the
.envfile, Add the following lines, replacing the placeholders with the credentials:
EMAIL_SERVER_HOST=
EMAIL_SERVER_PORT=
EMAIL_SERVER_USER=
EMAIL_SERVER_PASSWORD=
EMAIL_FROM=One last thing we have to do is verify the Domain. Without verifying the domain, the email will not reach the destination.
Verify Domain
It is crucial to verify your domain to send transactional emails such as welcome messages, password resets, etc.
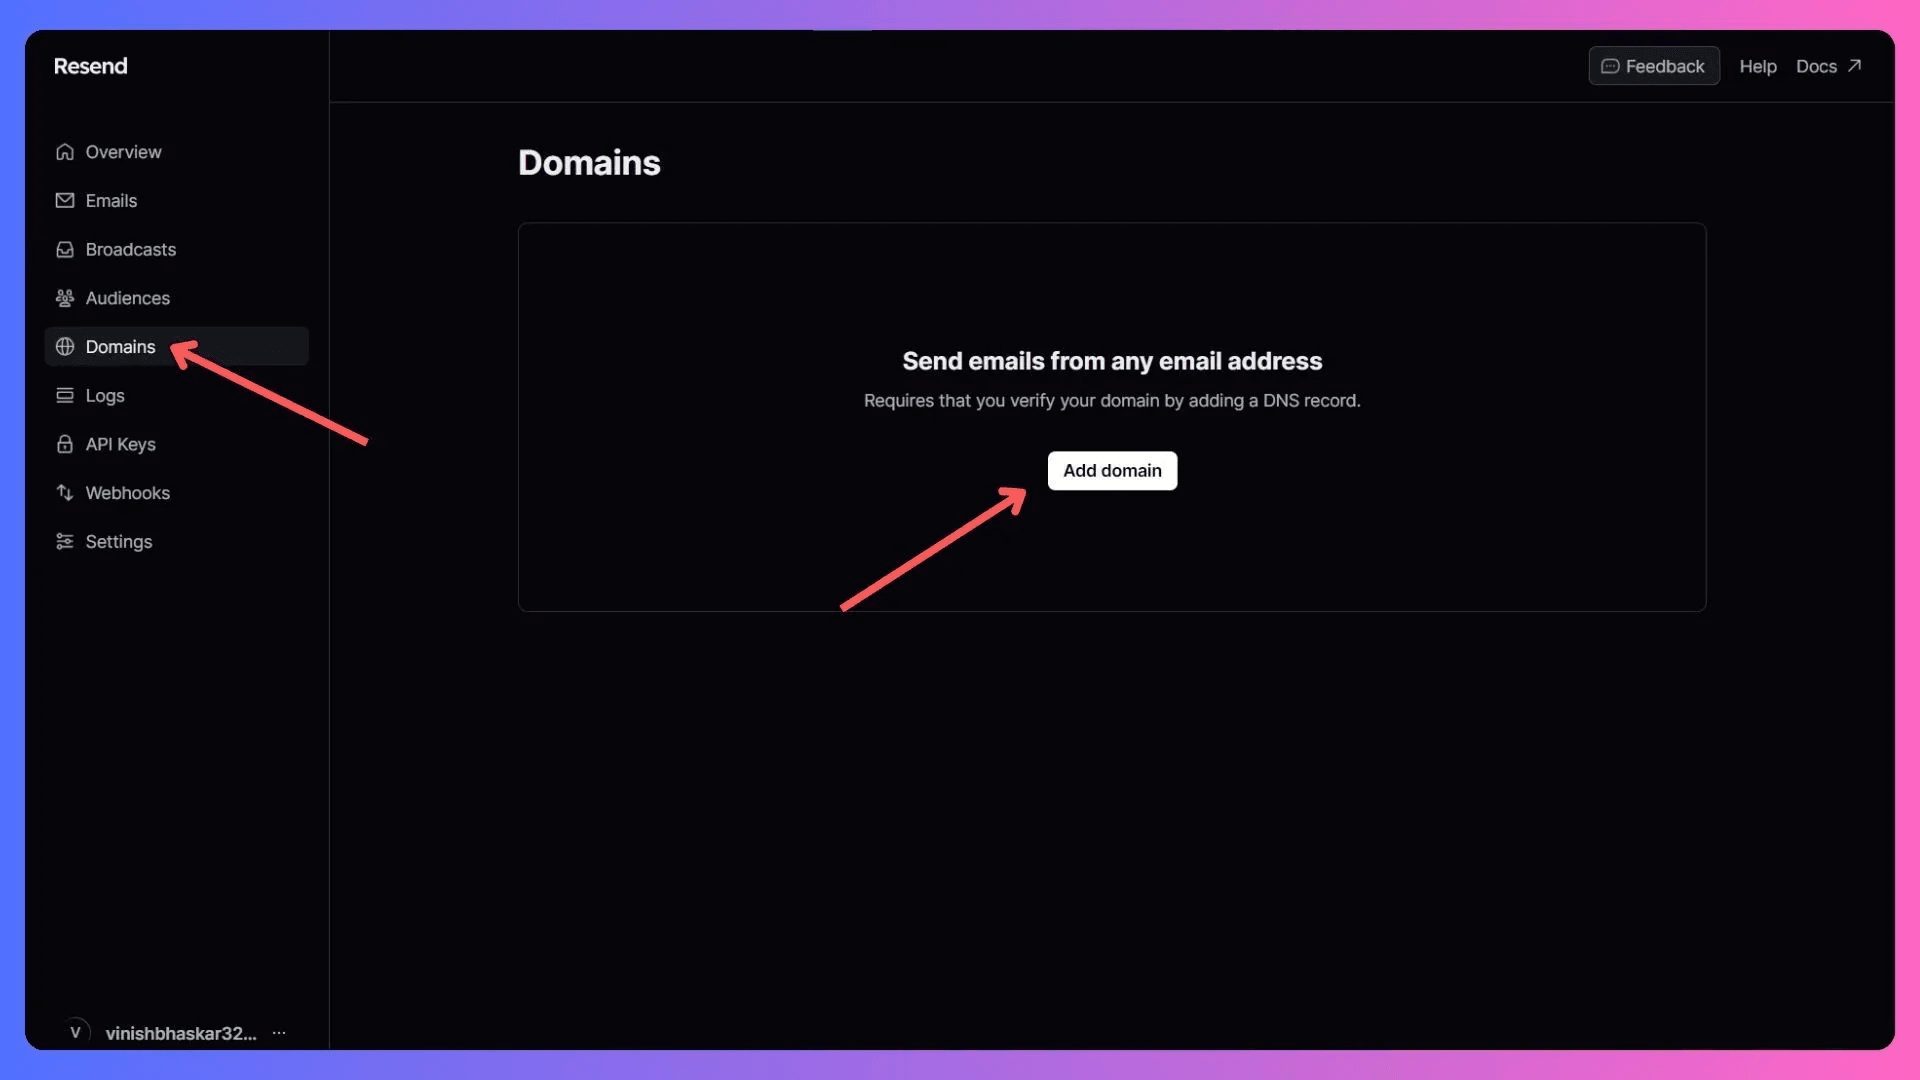
- Add Domain: Go to Settings > Domains in Resend and click “Add Domain”.
-
Add DNS record: Follow the on-screen instructions to verify your domain by adding DNS records.
-
Verify DNS Record: Once you have added DNS records, click on the “Verify DNS Records” button to verify.
If you get stuck, follow the official documentation by Resend on setting up the domain.